top of page
Making an Animation
With Blender
(make sure you have the tools and programs First)
Update:: Blender 2.49b is no longer needed, all animations can be done entirely through 2.76b
A) Loading and Appending your model(s) and/or objects:
first you have to load a model into 2.76b append an object or another model to it if the animations uses an object or another Sim.
1) Open Blender 2.76b
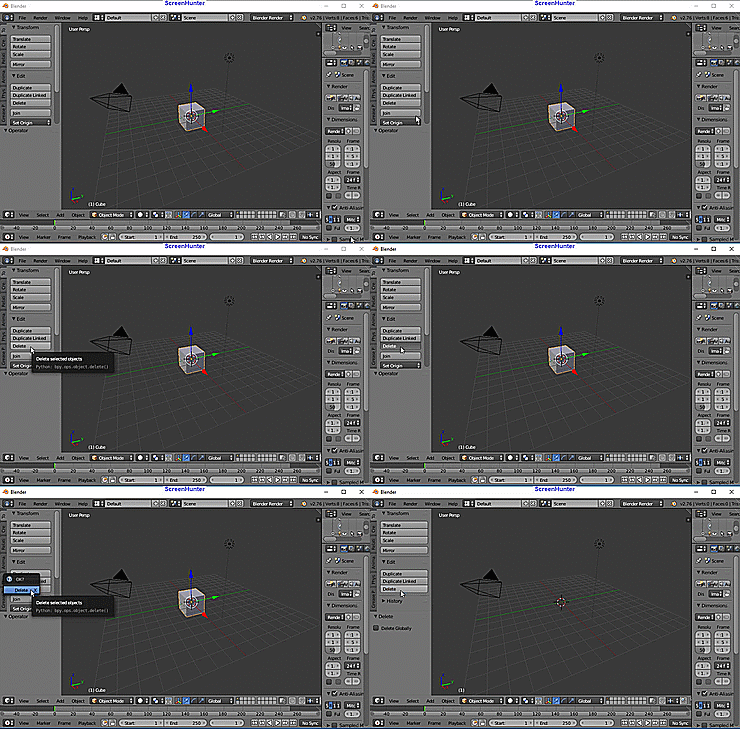
2) Delete the box
3) Select File, Open and then navigate to your model and let it Load.
4) Select File, Append, navigate to your object or another model, select it, there will be a list even if its a model select object and then the object or all 3 of the model's files (They will have the model name) from the next list, select append at the top right.
5) You should now have an object or another model with the first.
6) Put your mouse in your 3D screen and press [A] on your keyboard till the model(s) and/or object are not Highlighted.
7) Select File, Save as (name it) since I have more than one model and its going to be an animation, I will name mine mother_child_anim and press, Save Blender File at the top right corner.
B) Setting up in Blender 2.76b
If you have never used blender before, some windows may be missing
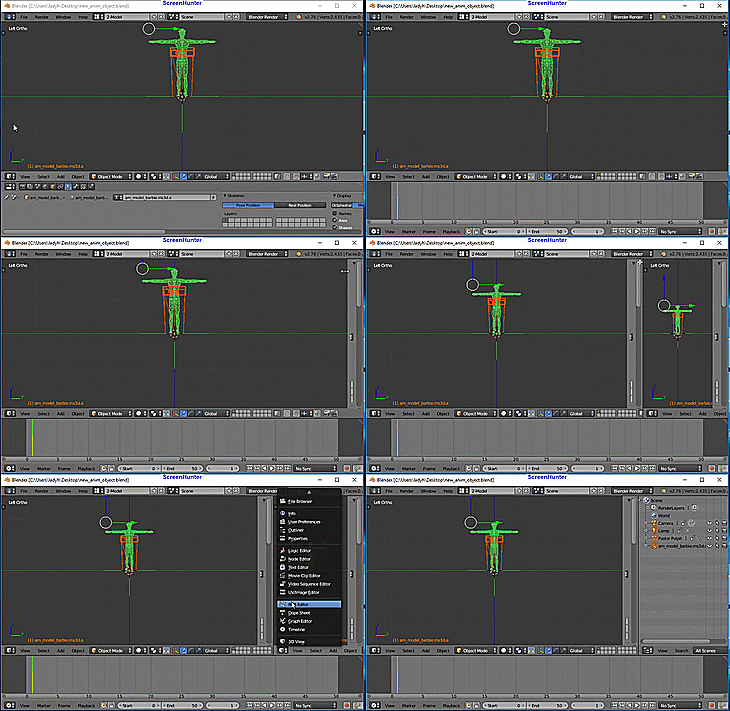
4) Change the bottom window to Timeline view
If your right side window is missing
5) Don't click the [+] at the top right corner of 3D view instead, slide the lined triangle shape above it till a new 3D window opens.
6)Change that window to Outliner. this will allow you to select the bones without guessing which bone it is.
C) Getting Familiar with the Controls
Now is a good time to get used to moving the 3D view of your model around, make sure your mouse is in the 3D window then play around with the buttons below:
To change the angle of the mesh use your number pad only
[1] = side view, [Ctrl] + [1] = other side
[3] = front, [Ctrl] + [3] = back
[7] = top down (head), [Ctrl] + [7] = bottom up (feet)
most number pad options have [Ctrl] and [Shift] options
Don't worry if you mess anything up. If you do, just close Blender 2.76b without saving and repeat section B.
D) Animating Your Sim
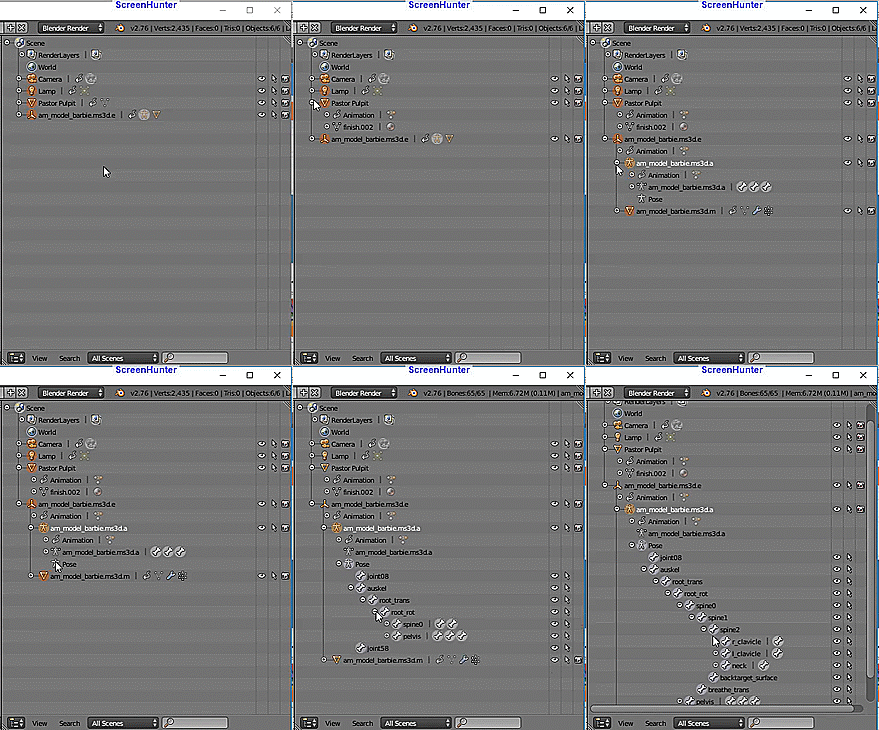
1) In the Outliner side panel you opened earlier, start clicking the [+] in the panel until Pose (second little white man) is exposed. Click on it, this will highlight your model in Pose Mode. click all the [+] These are your movable bones.
Watch this video to see what your next few steps should look like.
( Where the video says {Obect > Copy Pose}, the word Obect will change to Pose when all the bones are highlighted correctly)
Extra Notes:
This is a Mesh
If you are using another model instead of an object you cannot export them together. You will have 2 of these files. Delete 1, Export the remaining one, then hit [Ctrl] + [Z] to undo the delete. Delete the other and export the remaining one.
It is a good idea to save your work as you go, you can save multiple meshes and models as long as they are in Blender format.
If the shortcut keys are not working, make sure the mouse is in the 3D viewer window
If the Rotation isn't Locking or the Pose isn't Copied, make sure the eye next to the orange man
is visible and all the bones are highlighted / selected
Shortcut Keys:
[A] = Select/Deselect All
[Ctrl] + [Z] = Undo
[I] = Brings up the LocRot Menu
[R] = Allows you to rotate selected bones
[B] = Box Select
If you have any questions...


bottom of page